Showing posts with label tutorial. Show all posts

13 May 2015

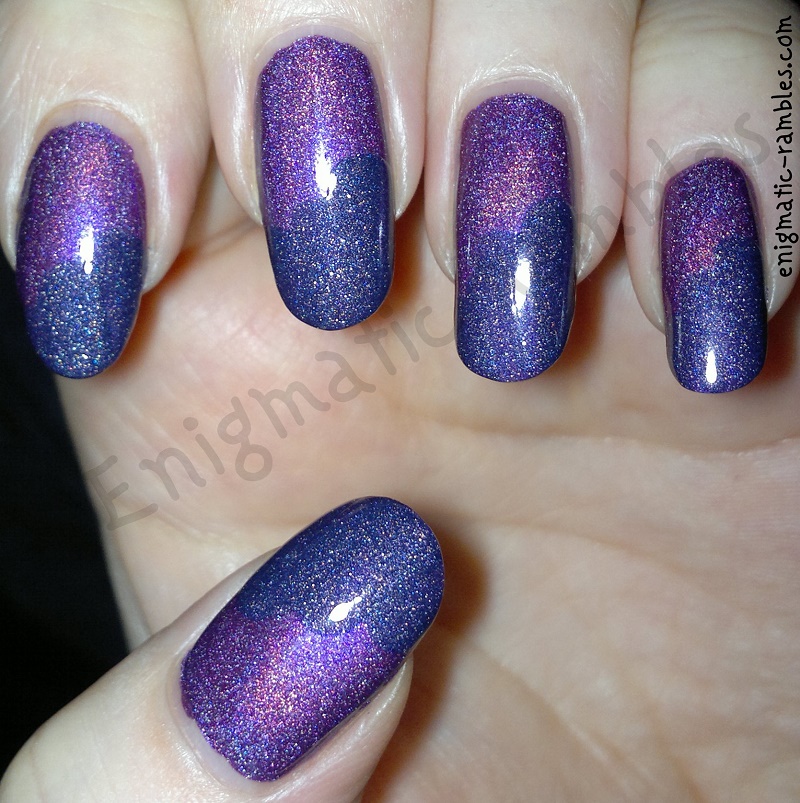
Tutorial: Needle Drag Nails

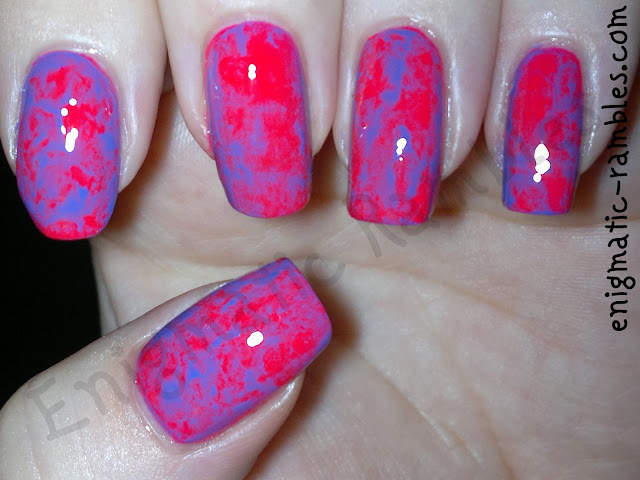
Another tutorial today, this was requested as I did needle drag nails earlier in the year for the 52 Week Pick n' Mix nail challenge. I didn't have a needle to hand so for the tutorial I ended up using a opened up paper clip.

Tutorial-Needle-Drag-Nail-Nails Tutorial-Needle-Drag-Nail-Nails

What did I need?
Two nail polishes (I used ELF Punk Purple, Color Club Pucci-Licious)
Sewing Needle
Top Coat


Tutorial-Needle-Drag-Nail-Nails Tutorial-Needle-Drag-Nail-Nails Tutorial-Needle-Drag-Nail-Nails Tutorial-Needle-Drag-Nail-Nails

1) Paint base polish and let it dry
2) Paint a opaque coat of each polish over half of the nail
3) While the polish is still wet, using the needle drag it over the nail from side to side (hopefully the clip above will show this better than my description!)
4) Top coat the nail to smooth the design and finish off

1) Paint base polish and let it dry, ELF Punk Purple
Tutorial-Needle-Drag-Nail-Nails

3) While the polish is still wet, using the needle drag it over the nail from side to side
Tutorial-Needle-Drag-Nail-Nails

4) Top coat the nail to smooth the design and finish off
Tutorial-Needle-Drag-Nail-Nails

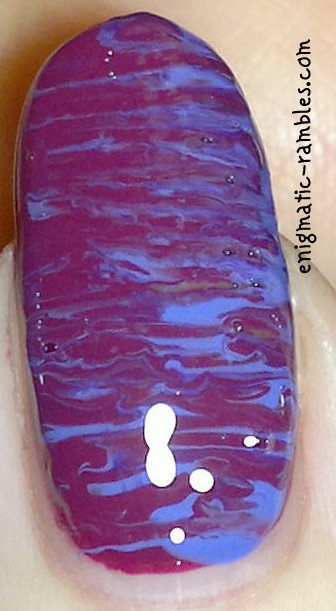
This was the original needle drag nails I did:
Tutorial-Needle-Drag-Nail-Nails
[Details Here]

26 April 2015

Tutorial: Cloud Nails

I did some cloud nails for a nail challenge I was doing last year and someone asked for a tutorial. Cloud nails are very simple to do, and look more complicated than they are.

Cloud-Nail-Nails-Tutorial

What did I need?
Two or three polishes (I used Yes Love - K033, Color Club - Pucci-licious)
Top Coat

Cloud-Nail-Nails-Tutorial Cloud-Nail-Nails-Tutorial Cloud-Nail-Nails-Tutorial Cloud-Nail-Nails-Tutorial

1) Paint your base polish coat
2) Using a different polish, paint three 'clouds'
3) Using your base polish (or third polish) paint three 'clouds' leaving a small amount of second polish showing.
4) Top coat the nail art

I did originally try and do a tutorial on my nails but the colours I chose maybe weren't the best for showing the technique;

Cloud-Nail-Nails-Tutorial
1) Base polish [A England - Crown of Thistles]

Cloud-Nail-Nails-Tutorial
2) Using a different polish, paint three 'clouds' [A England - Lady of the Lake]

Cloud-Nail-Nails-Tutorial

3) Using your base polish paint three 'clouds' leaving a small amount of second polish showing

Here are a couple of other colour ways I have used using the cloud nail technique;
Cloud-Nail-Nails-Tutorial
[Details Here]

Cloud-Nail-Nails-Tutorial
[Details Here]

I think the cloud nails idea came originally from NailSide, if you know different do let me know.

28 October 2014

Tutorial: Full Nail Decal

This is how I make and use a full nail decal.

What did I use?
- Nail Stamper
- Stamping Polish
- Stamping Plate (Bundle Monster 411)
- Nail Polishes
- Top Coat

First thing I did was put the stamping polish on the plate, scrape off the excess, then roll the stamper over the image getting the image on to the stamper head.


Then I used MUA's Frozen Yoghurt in the centre of the patchwork 


Filled in two other areas with ELF's Teal Blue


Finished off the filling in with Sally Hansen's Dorian Grey


Then covered it all with a thick top coat and left it to fully dry for 30mins


Once it is dried you can gently peel off the decal / sticker


Next I painted my nail with a topcoat to give the decal something to stick too


Next I placed the decal on the nail and pressed it down so there are no air bubbles


Once you have top coated the image and let it dry you can begin to pull away the excess. You can use acetone on a clean up brush for a perfect edge.


These are the finished nail design I came up with using this method and design


29 April 2014

Tutorial: Marble Nails (Bag Dab / Saranwrap / Clingfilm)

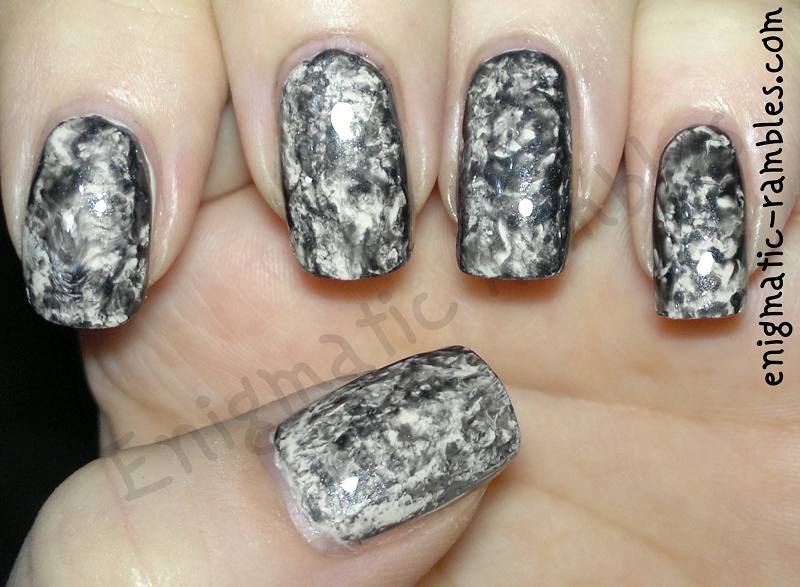
This is a dry marble technique, it is very similar to the clingfilm / saran wrap method. I use a plastic carrier bag to make this effect, it has been dubbed as 'the bag dab' by a friend!

saran-wrap-clingfilm-cling-film-plastic-carrier-bag-dab-method-dry-marble-nails-nail-art-diy-tutorial-how-to

What Do I Use?
Two Different Polishes
Carrier / Plastic Bag
Top Coat
Clean Up Brush

First paint your base and allow it to dry.

Then paint the next colour on top, working one nail at a time. Then dab the carrier / plastic bag on the nail until you get the desired effect.

saran-wrap-clingfilm-cling-film-plastic-carrier-bag-dab-method-dry-marble-nails-nail-art-diy-tutorial-how-to

Yes this is a bit messy but worth the end effect, you can go subtle or contrasting with the two polishes you choose. Go on to the next nail until you have finished all nails. Go ahead and top coat the nails.

saran-wrap-clingfilm-cling-film-plastic-carrier-bag-dab-method-dry-marble-nails-nail-art-diy-tutorial-how-to

Then clean up the fingers and cuticle areas and you are done.

saran-wrap-clingfilm-cling-film-plastic-carrier-bag-dab-method-dry-marble-nails-nail-art-diy-tutorial-how-to

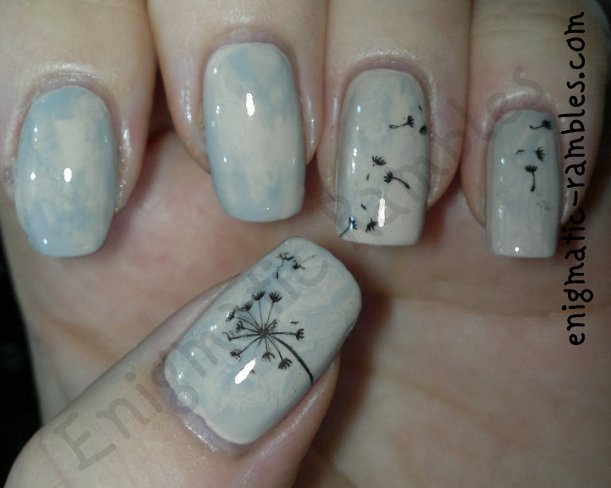
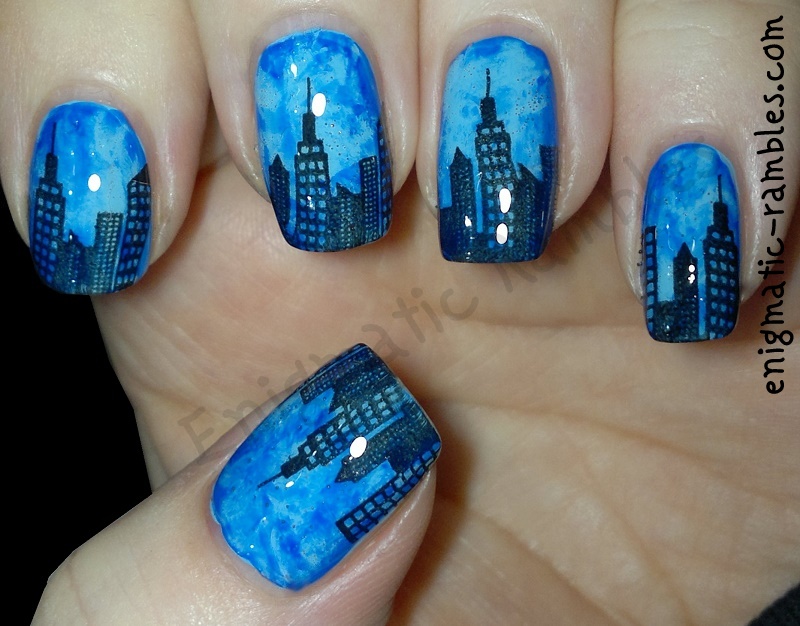
Here are some nails I have done using this technique:

saran-wrap-clingfilm-cling-film-plastic-carrier-bag-dab-method-dry-marble-nails-nail-art-diy-tutorial-how-to
Dandelion Nails

saran-wrap-clingfilm-cling-film-plastic-carrier-bag-dab-method-dry-marble-nails-nail-art-diy-tutorial-how-to
Skyline Nails

saran-wrap-clingfilm-cling-film-plastic-carrier-bag-dab-method-dry-marble-nails-nail-art-diy-tutorial-how-to
Neon Nails