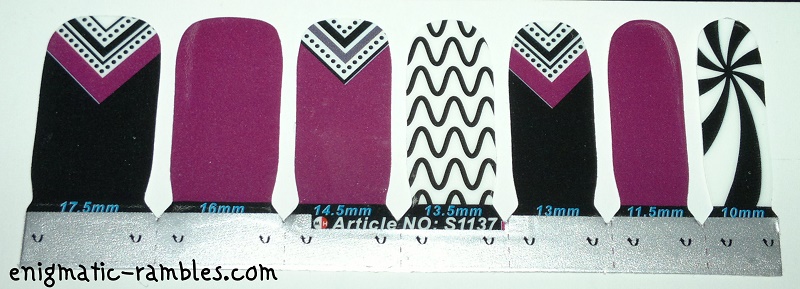
 OMG Nail Strips - Black Peppermint
OMGNailStrips are the solution to smelly, streaking nail polish and expensive manicures. Our unique nail designs are quick and easy to apply and can last up to 10 days. Our goal is to make the hottest styles of nail strips and nail stickers affordable enough for everyday wear. Currently have over 100 designs and will be adding hundreds more in the near future - OMG Nail Strips
I was sent the Black Peppermint nail strips, I have tried other ones from Nail Rock, Primark, Savers and some from Avon. At the moment my nails are quite long but these stickers are 30mm long so they will easily fit my nails. Another point to note it that even if you have short nails the main feature of these particular designs are at the cuticle end so you will be able to use these even with short nails.
14 Stickers in pack
Width - 17.5mm to 10mm
Lengths - 30mm

What did I use?
OMG Nail Strips
Scissors
Hoof Stick
Nail File
Top Coat
How did I apply these?
Naked nails;

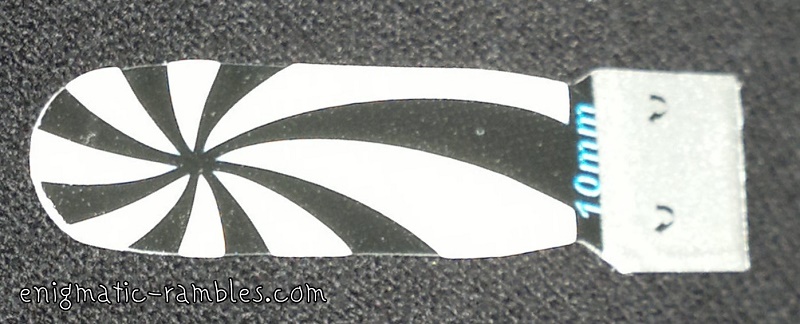
Found a nail strip which would fit my finger, this one fit my little fingernail;

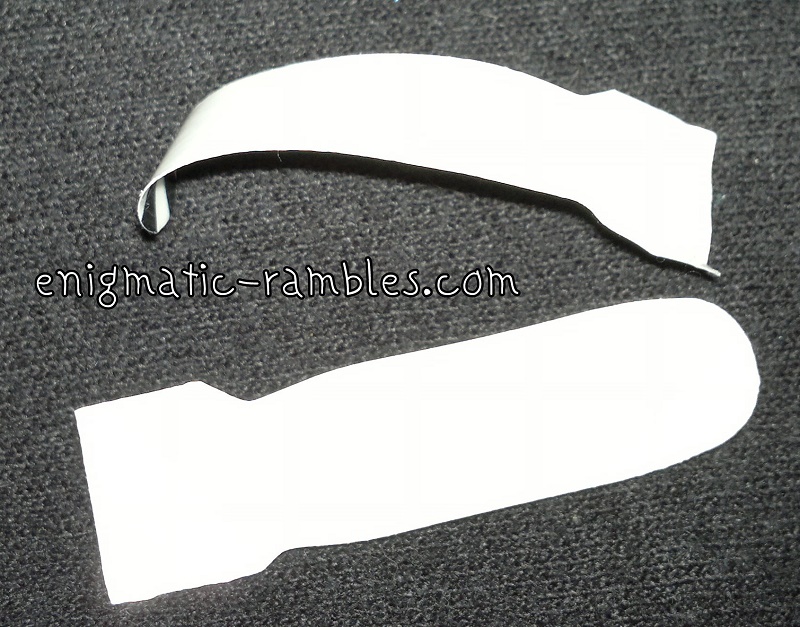
Then peel off the clear plastic from the top of the strip, once removed this top part won't be sticky;

Then remove the bottom part, to revel the sticky side of the strip;

Carefully line up the cuticle end of the sticker;

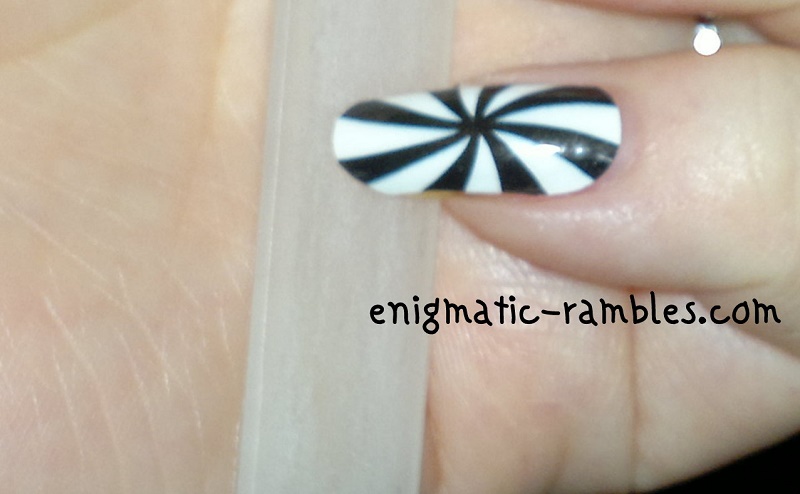
Using a hoof stick I pushed the sticker down, working any lumps and air bubbles out;

Once it was all stuck down I cut off the excess;

To get the end of the sticker to line up, I used my nail file over the top of the nail rather than across the top of the nail;

Finally I top coated the tips and then topcoated all of the nails top help seal in the stickers. The topcoat 'melts' the sticker to the nail for a better application. I found topcoating the free edge helped to stop the strips from lifting off the nails as well as stopping them from snagging on everything;

The claim is that these strips last for 10 days, however I usually change my nails daily. But I did test these out for four days.
Day Two - Noticeable tip wear on index finger.

Day Three - Less shiny that on day one, but that would be fixable by topping up on top coat. Also I managed to get white polish on my thumb nail. Because these strips are made from nail polish I was unable to remove it without removing the strips.

Day Four - Not much change, a little more tip wear on the thumb nail. Starting to grow out a little bit.

To remove these nail strips you use your traditional polish remover. There is no damage done to the nails in using them either which is good.
Overall these are good nail strips, once the two protective layers are removed they are quite flexible meaning they stick to the nail and don't flick back up. They aren't too thin though so they will tear on application. They are quite sticky so they do adhere to the nail well, but if you do mess up application you can still move them about. There was no lifting at the cuticle so they didn't snag on my hair which can be an annoyance of some full nail stickers I have used before. Out of all the full nail strips I have used in the past these have been the best ones.
I liked the design on my little finger, I have a similar stamp but I can't seem to get a clean stamp with that. The more aztec design stickers were good as well, which I could probably achieve the same look on my left hand, something that detailed would be very difficult using my non-dominant hand.
$7.99 with free worldwide postage
[Stickers sent for reviewing purpose, opinions are always my own and honest]


